Subcontractor Quick Start Guide
If you have signed up for an annual license with Clearstory this guide will walk you through all the steps to get your account completely set up.
Use this guide as a checklist to make sure you have set up each part of your account. To keep this guide simple we will link you to guides for updating each section.
Table of Contents:
- Sign Up (If you have not already)
- Download our mobile app from the app store
- Add your company's address
- Import your company's logo
- Add labor, material, equipment and other rates
- Add your COR mark up rates
- Add your Terms and Conditions
- Invite your company team members
- Add/Manage your Customers
- Create a project
Learn the features:
- Learn how to create a T&M Tag
- Learn how to upload a COR
- Learn how to Create a COR
- Learn how to navigate the COR log
- Learn how to send a shareable link
Sign up and create your account
Once you have signed up you will need to contact our sales team to "Activate" your account for our premium features.
To sign up: click on this link.
Once on this page, click on the "Sign Up" link and follow the workflow to verify your email, enter your name, company name and set your password.

Download our mobile app from the app store
To start creating Time and Material Tags you can download our mobile app from the app store.
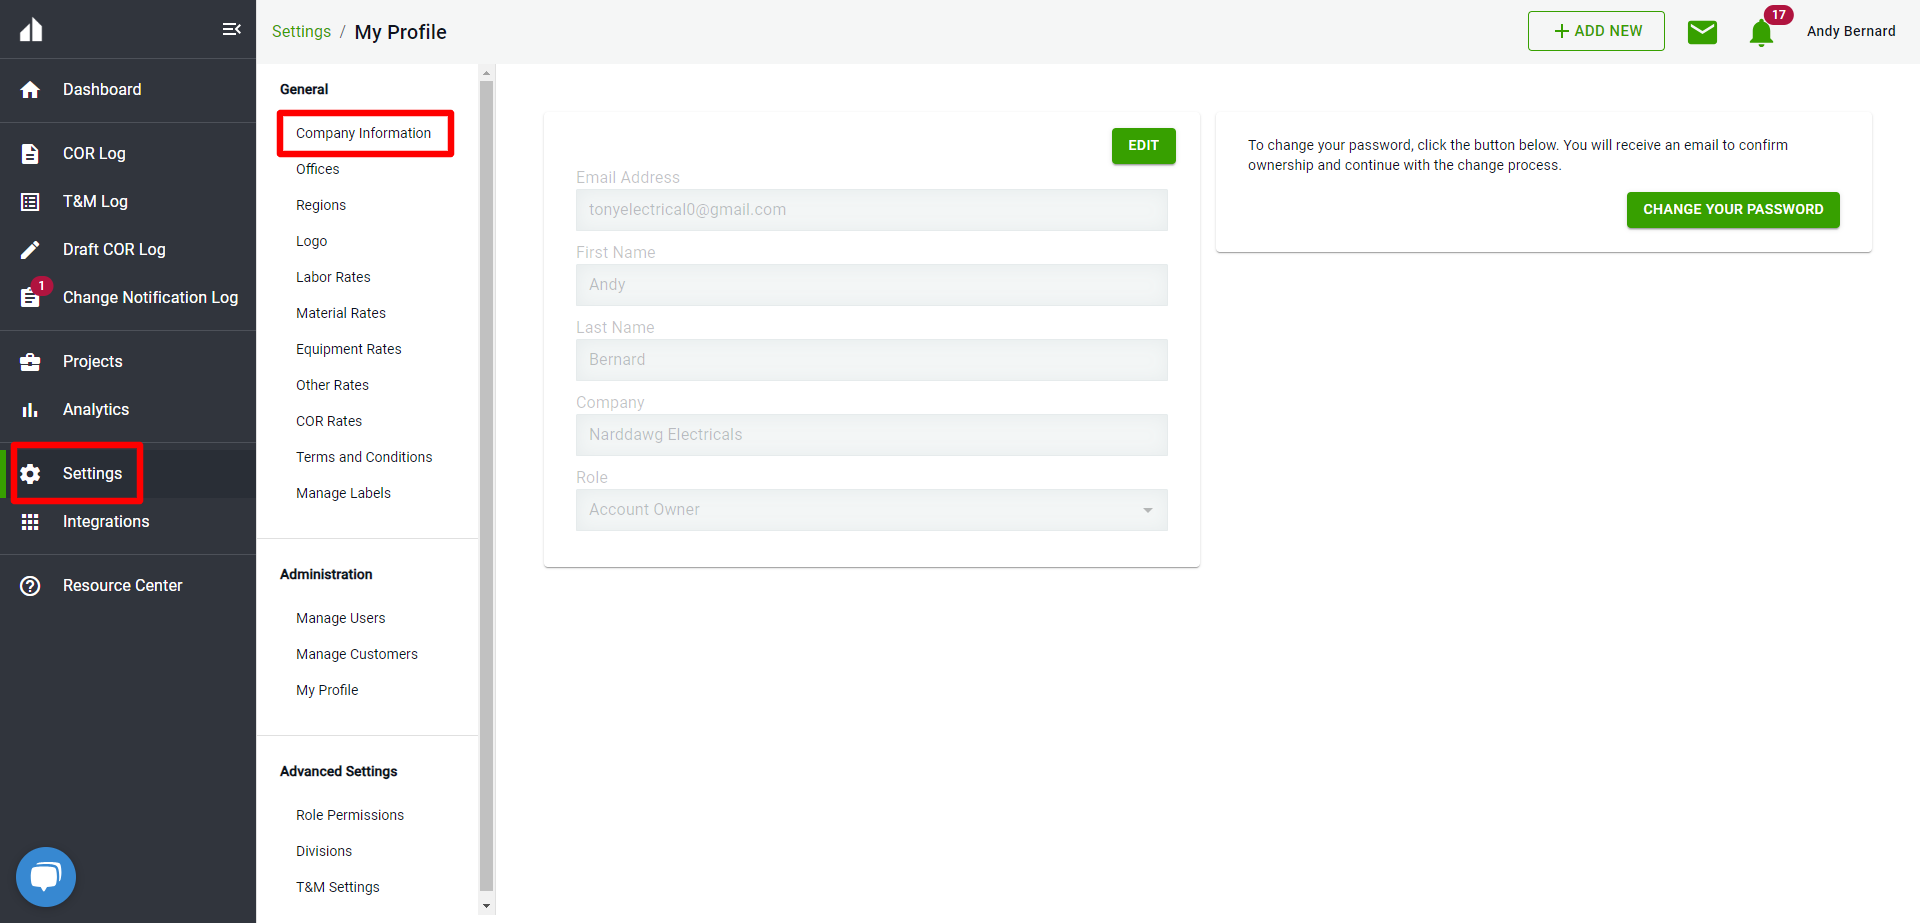
Add your company's address
Once you are logged in to the web application add your company's address.
- Navigate to Settings > Company Information.
- Enter your company's address here so it shows up on all the T&M Tags, Change Order Requests and COR logs you share through out Clearstory.

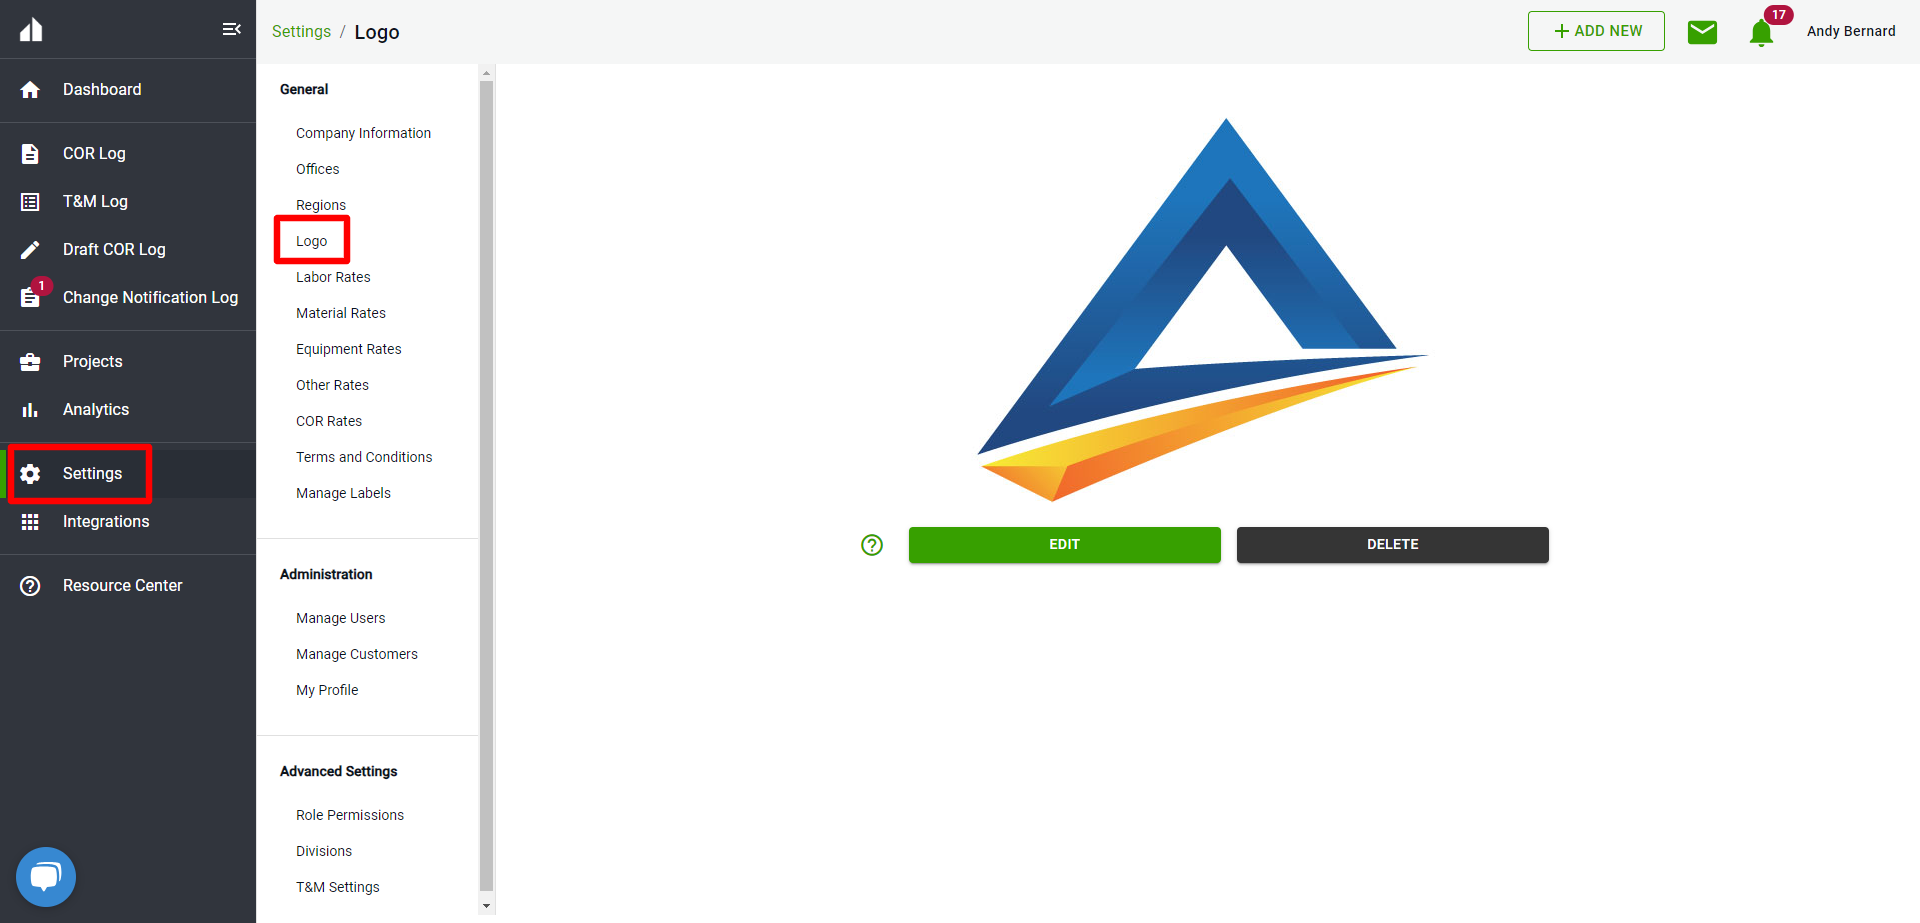
Import your Company's logo
Your logo is used throughout the application to brand the documents you create and send through Clearstory.
- To learn how to add your logo check out this article here: How to add your logo.
- To get to this page navigate to Settings > Logo.

Add your labor, material, equipment and other rates
By adding these rates to the system your users can easily select from a drop-down list while creating T&M Tags and Change Order Requests. You can create standard groups of rates for your company and apply them to projects as they pop up.
- To learn how to do this, check out this article: How to add your company rates.
Add your company's mark up rates for Change Order Requests
With this feature, you can standardize the markup section you want for each Change Order Request created in Clearstory. We will also show you how to customize this per project.
- To learn how to do this, check out this article: How to add your company COR Mark-Up Rates.
Add your company's standard Terms and Conditions to T&M Tags and Change Order Requests
If you have standard verbiage that you want to show up on each T&M Tag and each Change Order Request you can add both in this section.
- To learn how to do this, check out this article here: Add your company's Terms and Conditions.
Invite your company's users to your account
Now that some of your basics are set up, you can invite users to join your Clearstory account. This way you can invite them to projects and all track Tags and CORs together.
- To learn how to do this, check out this article here: Invite my company team members.
Add/Manage your customer's information
When you create projects in Clearstory you can manually add or invite your customers to join. You can manage your customer's information so it shows up properly on all T&M Tags and CORs from this section.
- To learn how to do this, check out this article here: Manage your customers.
How to create a project
Now that your account is set up, your team members are invited and your customer information is in place you can get started creating Time and Material Tags and Change Order Requests.
The first step here is to "Create a Project"
- To learn how to do this, check out this article here: How to create a project.
Learn how to create a T&M Tag
With our mobile app your field users can begin creating Time and Material Tags.
- To learn how to do this, check out this article here: How to create a Time and Material Tag.
Learn how to upload a COR
If you want to upload a COR that you created outside of Clearstory and track it on your COR log you can simply upload the PDF file you created.
- To learn how to do this, check out this article here: How to Upload a Change Order Request.
Learn how to Create a COR
If you want to create a Change Order Request in Clearstory using our create COR template you can create one from scratch or convert a T&M Tag instantly into a COR.
- To learn how to do this, check out this article here: How to create a Change Order Request.
Learn how to navigate the COR log
Any Change Order Request you upload or create in Clearstory will automatically be added to your COR log. We pack a ton of features into this COR log.
- To learn how to do this, check out this article here: How to navigate the COR log.
Learn how to send a shareable link
One of our most powerful features is the ability to send a link of your digital COR log to your customer. This way they can be up to date on all of your outstanding Change Order Requests in real-time and have the ability to download each COR PDF that you have sent historically.
- To learn how to do this, check out this article here: How to create a shareable link of your project.
Those are the basics! We encourage you to explore the rest of our knowledge base here for additional frequently asked questions and tips and tricks on how to leverage Clearstory to it's fullest.